Well, my Puppets War Dragonfly arrived a few days ago! First impression was good, it was very well packaged and arrived in very similar condition to Forge World items (that is to say, bits of flash, a few mould lines and air bubbles, nothing more than you'd expect).
 |
| See, a wee baggie of goodness |
However, once I had taken the parts out, done the usual clean up and washing (being resin, Id advise the usual wash with warm soapy water first), and I had laid the parts out, I realized there were no instructions, and the ones on the PW website were sub-par.
 |
| mmm, unassembled goodness |
That being said, its not a terribly complicated kit to assemble...
The first step was to cut some blister plastic and make "windows" for the cockpit, as I would want it to match the other flyers in my army (I.e, painted windows). Expect lots of swearing and missed cuts here, as each window pane is an "odd" shape, there is no easy way to go about it...
 |
| finally done, goodness gracious me... |
Step two was to attach the base of the cockpit section, make sure this part is fully cleaned of flash, as tiny bits can be a real problem here. Then, join the two "halves" of the plane together, simples as they literally slot together.
 |
| Pay attention to the orientation, for goodness sake! |
Three, well, its tail boom time. First step is to slot the tail boom end into our assembled body (fin up), making sure the hole in the protuding tag is clear. Next, fit the "interior/exterior" body section, mine fit very nicely and flush, YMMV, but take care to join the "nib" and "hole" at the tail end. Finally, fit the little dorsal fin to fix the two ends together (you may need to trim the rods on it to get it to fit).
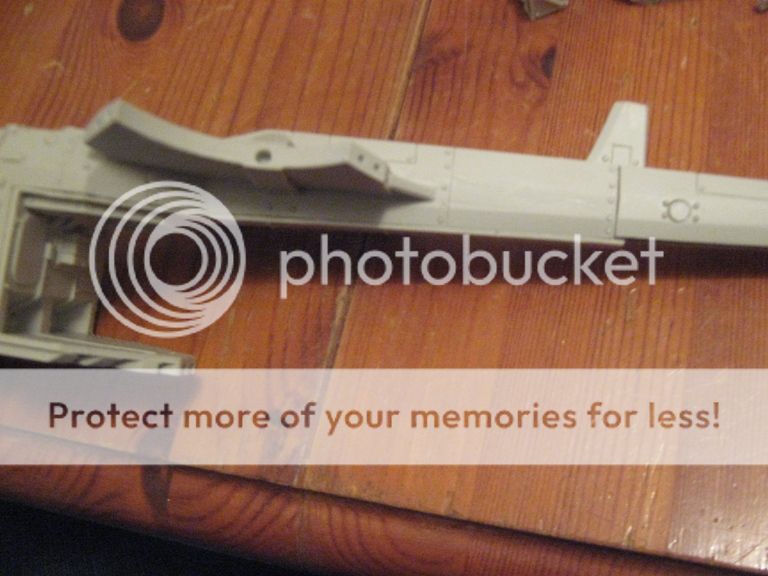 |
| goodness me its coming together. |
(if you wish to swap parts, its a simple cut-n-paste job)
 |
| "like a glove" goodness |
To fix the part to attach to the flying stand, it goes right underneath the open interior section.

Now, I decided not to attach the grapples and tail boom, instead replacing it with my own engine section, but more on that later. If you decide to go ahead with it, its easy to see where it goes, and the powercell component is placed just in front of it. For now, I shall leave it with a scale shot versus the GW Valkyrie, and
you can make your own minds up on what you think...
 |
| running out of things to say that include goodness... |
 |
| But Im finished now, so thank goodness! |
Hope this helps anybody with their own Dragonfly!
Later
JP


