What follows is an easy way to give yourself a guide on where and how highlights could be applied.

Sometimes it can be hard to judge highlights. How to make them enough to actually highlight the model, but look natural and subtle. Firstly, my setup:
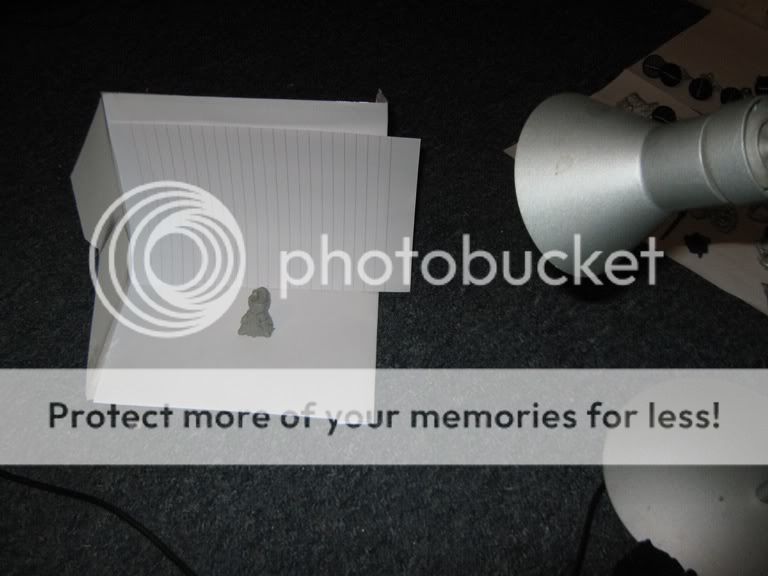
It also helps here if all other lights are turned off. Also, see the lined paper at the back? That is to give a clear vertical reference, something which can come in handy too.
Now for the bit that helps. (note, this works a bit better on black undercoated models)
Turn the "effects" on your cameras on, and use the Black and White effect (all other settings shouldn't be affected...)
Now take your pictures, front on, and rotate the camera around the model, not the other way around (if the light changes, you wont have consistent reference material.

You will see the light shining off the model at certain parts, and they should be where the highlights should go, for maximum and natural effect. Sure, some of this may be unnecessary, but it also is a guide for how "wide" the highlights should be, how far they should extend and is a really helpful guide if a surface will have blended colours, especially NMMs...
A sepia effect works rather well too!

Try it for yourself! Let me know how it works out for you!
that, quite honestly, is genius in its simplicity. i feel tremendously stupid for not having thought of it myself.
ReplyDeleteAlso try turning the contrast up to make the lighting more distinct.
ReplyDelete